Tag Archives: airport

A Guide to Paro and the Legendary Tiger’s Nest Monastery

Our Bhutanese adventure started at Paro’s international airport. Landing here is, in itself, an adventure as it is considered one of the most dangerous airports in the world. The plane spirals into the valleys with no flat land in sight – it is almost like a video game! Finally, seconds before the actual landing, with the plane still tilted, we catch a glimpse of the runway. Before we know it, we touch down at the Paro airport. After we got down the plane, we could see tall mountains on both sides of the runway – no wonder it was considered to be one of the most dangerous airports in the world. In fact, only a handful of pilots in the world are certified to fly to this airport! Truly an adrenaline pumping start to the trip.

Our guide, Karma (we booked our trip with Bhutan Travel Guru), was waiting for us at the arrival hall. We checked into our hotel and took a power nap (much needed – we had started the trip from Bangalore with an overnight layover at the Kolkata airport!). We headed straight to a restaurant for lunch. We had some fried momos and buckwheat noodles – not recommended.

As soon as we were done, we asked Karma not to take us to any “tourist-friendly” restaurants. We wanted to eat local food at the places where they would go to eat – this is something we do wherever we go and have found it to be better tasting than anything else.

The Oldest Temple in Bhutan and the beautiful Paro Dzong

Our first stop was the oldest temple in Bhutan – Kyichu Lhakhang. The temple was built in the 7th century by the Tibetan king of the time, Songtsen Gampo. A beautiful structure surrounded by giant prayer wheels and ancient trees, it was a good place to start the trip.

We then drove to the Rinpung Dzong – the monastery we saw while landing in Paro. Perched at a height above the Paro valley, the monastery cannot be missed. The architecture here is amazing and the murals contain stories from legends. Karma never missed explaining any of these paintings and their relevance to Bhutanese culture and folklore. As we visited more places, we could identify some of the deities and stories from here – it was quite an immersive experience. Karma mentioned that everywhere we went in Bhutan, we would see the statues and paintings of the three most significant people – Buddha Shakyamuni, Guru Padmasambhava and Zhabdrung Ngawang Namgyel. While Buddha Shakyamuni is the founder of Buddhism, Guru Padmasambhava (or Rinpoche as he is known) was the one who brought the tantric form of Buddhism to Tibet and Bhutan. You can recognize him by his characteristic moustache. Zhabdrung is known as the founder of Bhutan and the one who originally unified the kingdom.

After going through the stories, we strolled along the corridors and out into the courtyard. We got some beautiful views of the valley from the Dzong and spent some more time in the courtyards.

We closed the day back at our hotel with some simple dinner and local peach wine.

The next morning, after breakfast, we proceeded to Thimphu.

We got back to Paro late in the evening on Day 4. The next day would be the grand finale of our trip – the Paro Taktsang, popularly known as the Tiger’s Nest monastery.

The Epic Trek to Tiger’s Nest

The morning view from our hotel was a beautiful panorama – the valley with the river winding through it, mist rising from the distance while the mountains towered all around.

I really enjoyed watching the morning planes emerge from the mist and swerve down towards the airport.

After a quick breakfast, we were on our way to the foothills of the mountain to begin our trek. We had just finished a trek the previous day in Punakha to visit the Khamsum Yulley Namgyel Chorten. We hoped that would serve as a warm-up for what was to come.

First up, the legend behind the monastery

It was built in 1692 around one of the caves where Buddhist master Guru Padmasambhava used to meditate. Guru Padmasambhava, also known as Guru Rinpoche, is said to have brought Vajrayana Buddhism (a tantric form of Buddhism) to Bhutan from Tibet. Legend has it that the Guru arrived here on the back of a flying tigress – hence the name, Tiger’s Nest.

The Trek Begins

Now, let’s get to the trek! When you get your first glimpse of the monastery, it seems almost impossible to get to – it looks like it has been etched into a steep cliff with no path visible. The monastery is perched at a height of over 10,000 feet (3000 feet from the valley). The total distance of the trek is estimated to be around 6km.

At the parking, you can find people handing out sticks for a nominal price (these came in handy at the steep parts of the trek especially on the way back!). We recommend you pick up one of these before heading out.

We first passed through a pine forest and some clearings to reach the base of the cliff. You can choose to take a horse to the halfway point – we chose to walk as the real satisfaction of completing a trek comes when you do it on your own.

The Real Trek Begins!

We were now getting into the steep part of the trek. The dirt trail wound its way up with boulders and roots of trees acting as footholds.

As we gained altitude, it got harder to climb. There were spots where the path was winding around the hill – some people had made steep shortcuts to cut across. While it is fun to pull yourself up a few of them, you end up huffing and puffing pretty soon. Our guide Karma, however, was skipping ahead with ease as this was routine for him. About an hour into the trek, we spotted the monastery and it seemed as far as ever! But the beautiful views, the prayer flags (and adrenaline) kept us going steadily.

In about an hour and 10 minutes, we reached the cafeteria – the rest stop midway into the trek. We re-fuelled with some tea and biscuits while enjoying the view. This is also the last point till which the horse/mule can carry you. After this, it is you and your legs all the way.

The climb continued and the monastery disappeared from view. We were starting to take more frequent breaks as our legs started protesting. Our biggest motivation was a group of elderly people who were making their way to the top – we were amazed by their stamina and how they consistently kept walking without taking any breaks. But even they stopped a bit ahead at the next turn. We understood why when we got there – the monastery was right in front of us! In fact, we were looking down at it from a height.

We were finally down to the last part of the trek. We were done with the trail and now, in front of us, stood Nam’s biggest enemies – STEPS! To make things more interesting, we had to climb DOWN before climbing back UP to the monastery. Thankfully, we spotted the elderly folks and the thought of giving up vanished quickly.

At the bottom of the stairs was a waterfall and a bridge covered in prayer flags. The ambience here literally injects energy into you – this is exactly what we needed to make our way up the final set of steps. It took about another hour and 10 mins from the cafeteria to get here.

We Made It!

At the entrance, we had to keep our shoes, cameras and phones with the security. The most powerful feeling you get as soon as you enter the monastery is PEACE! Karma took us on a tour of the temples here. We spent some time sitting on the cold floor next to the windows looking out towards the valley below. It was so quiet and peaceful – you have to experience it to know it! What’s even more striking is the fact that this was despite the place being full of monks and tourists. Being from cities with a busy lifestyle, we savoured every moment we spent in this ancient cave etched into the cliff of a remote mountain in the Himalayan kingdom of Bhutan.

The way back was tougher as we struggled to find a grip on the slippery dirt. This is where that stick comes in handy – when your knees give way, the stick comes to the rescue! After a two-hour downhill trek, we were back at the parking! We made it!

We were glad it was November and that the sun didn’t beat us down. Check out more about the best time to visit Bhutan and our itinerary here.

Tip: Do not do this trek on the first day of your trip. Remember – you are at a high altitude and your body needs to get used to the oxygen levels. Even though you will manage to complete it, it might force you to take the next day off to rest and rejuvenate.

A Happy Ending to an Amazing Trip

We reached Paro, had lunch and went back to our hotel. Later in the evening, we went to a farmhouse for a traditional hot stone bath. Can’t ask for anything better after the Taktsang trek! The bath was made of wood and had a partition which led to the area outside where the stones were dropped. As the water got cooler, the operator (who was also the owner of the farmhouse) would drop a couple of red-hot stones into the water. The sizzle of the stones as they dropped in was as much a stress reliever as the herb-infused water.

We then went into the home and joined the family for dinner. They started us off with some butter tea – a pink tea which really warms you up from the inside! The food was a reflection of Bhutan itself – simple yet delicious. Rice, scrambled eggs, boiled potatoes, chillies, dried meat and some soup.

The warmth and hospitality of our hosts continued to make us feel at home. Karma helped translate our conversations as they told us about some of the photos hanging in their hall. It was a happy ending to our last full day in Bhutan.

We bid farewell to Karma and Bhutan on Day 6 at the Paro airport as we boarded our flight back home the next morning. Our expert pilot went round and round and brought us out of the valley and soon we had Mt Everest once again for company for the rest of the flight. It had been an unforgettable trip.

Check out our itinerary and tour details here. For more on the foods of Bhutan and the capital of Thimphu, click right here. Our other trek of the trip in Punakha can be found here. Do check out all the blogs to complete your virtual Bhutan experience.

Do leave a comment below if you liked this post! Do check out our Bhutan Highlights on Instagram to see the trip through our eyes @fridgemagnet.tales.

Getting Around Vietnam – Travel and Where to Stay

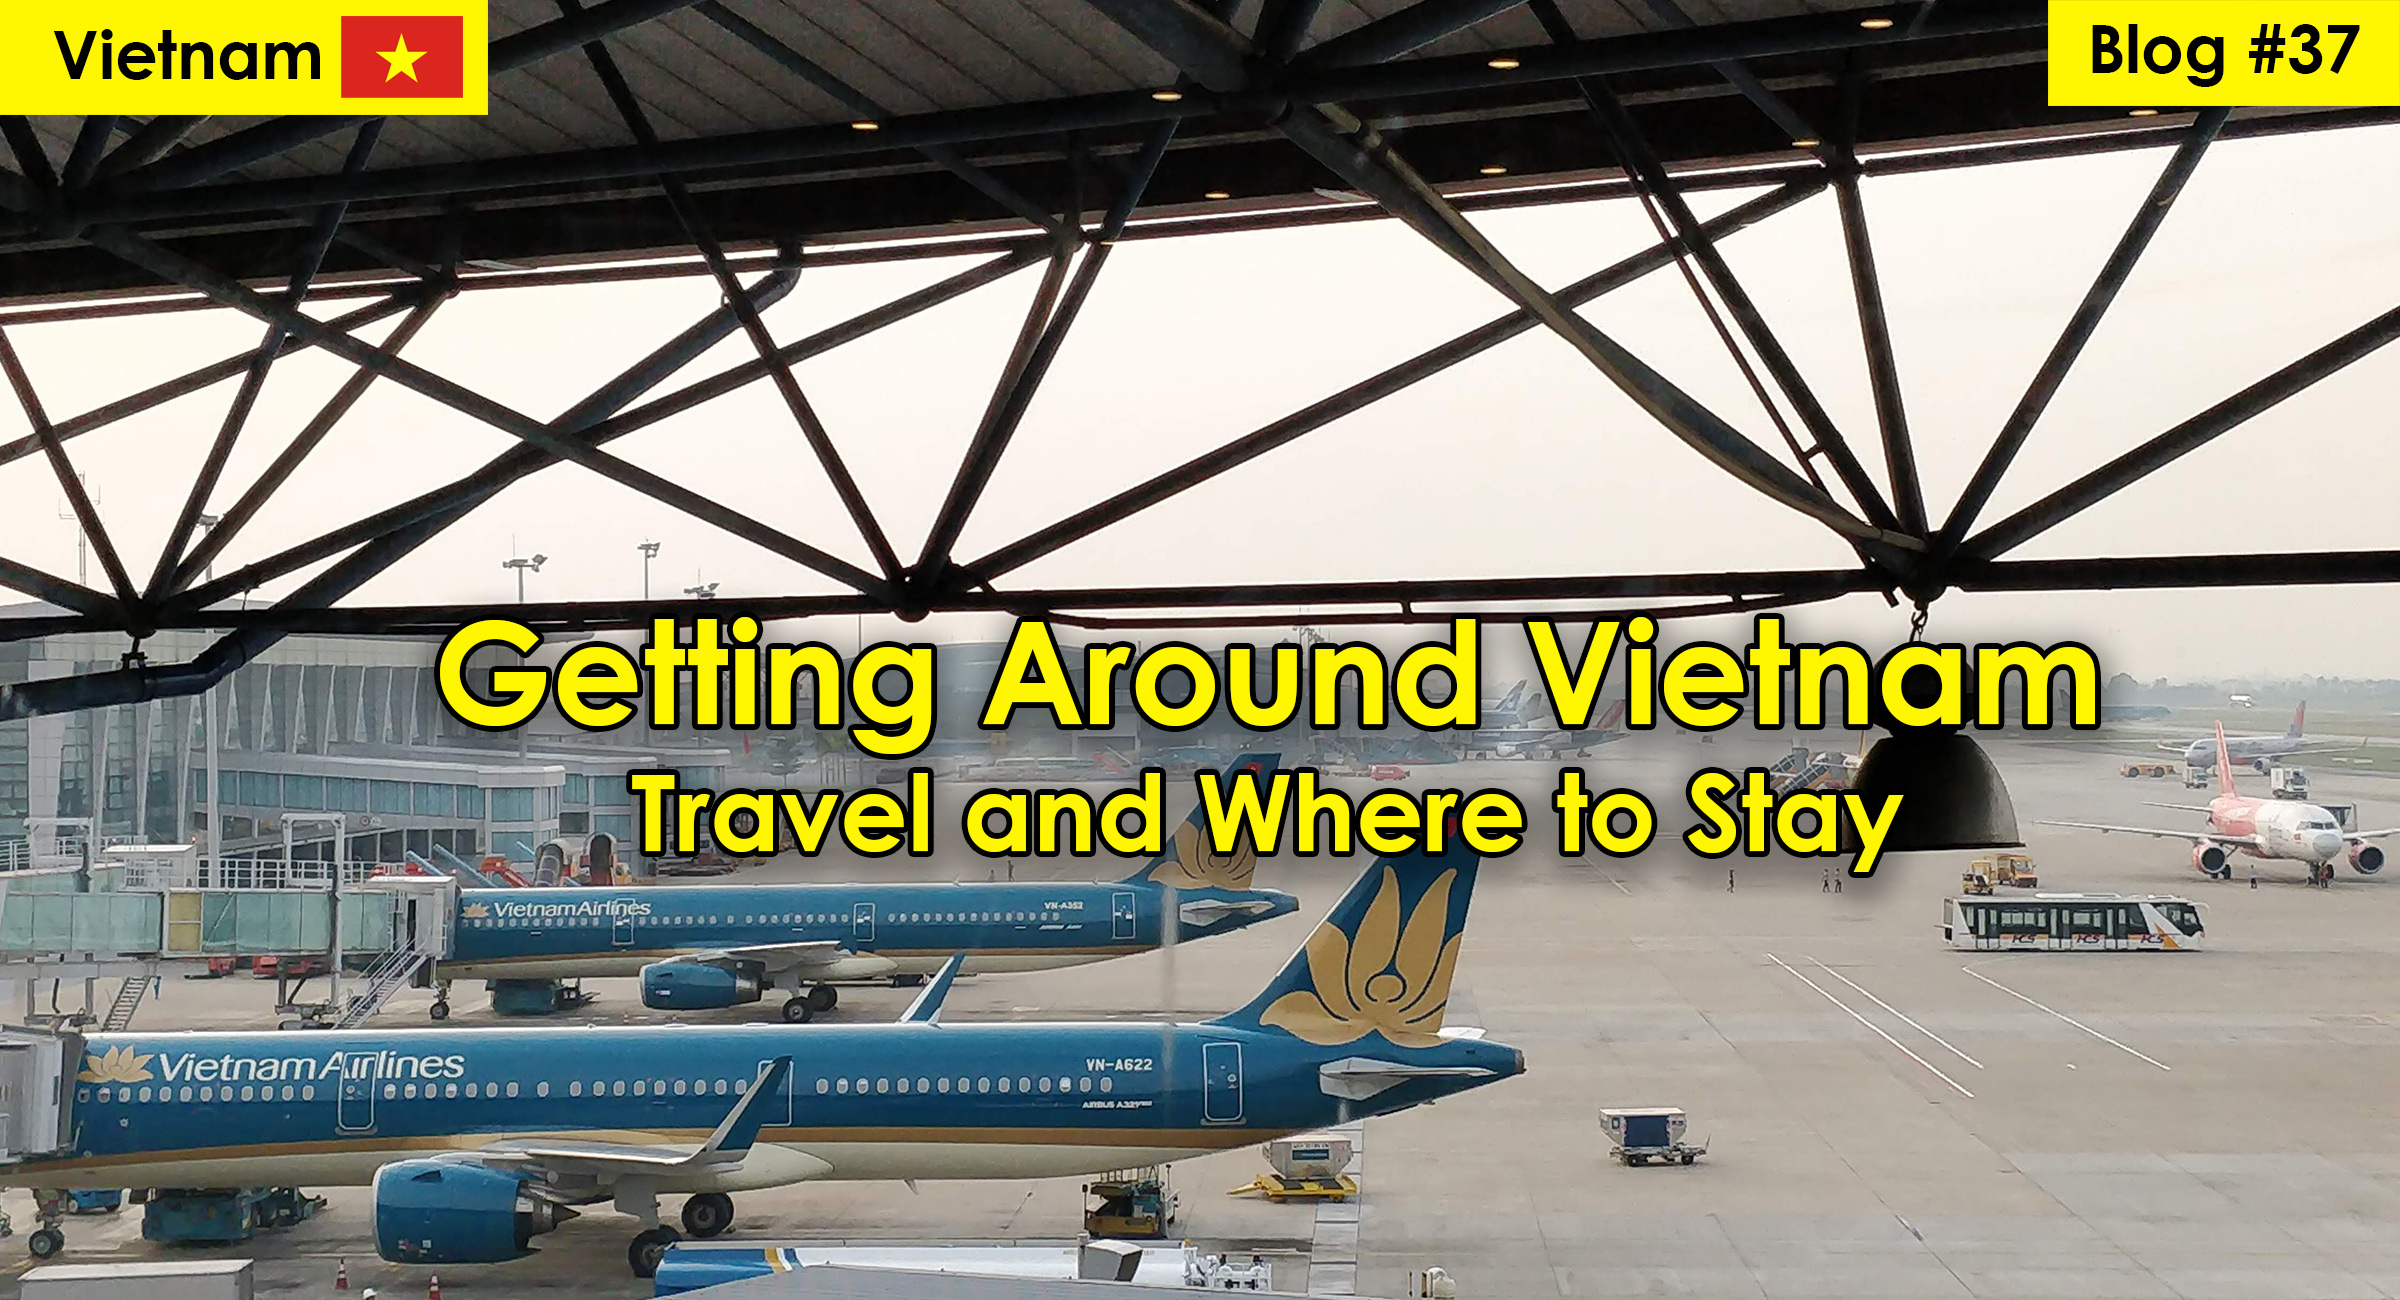
Getting to Vietnam

Vietnam is well connected through its international airports at Hanoi (Noi Bai Airport), Ho Chi Minh City (Tan Son Nhat Airport) and Da Nang acting as major hubs. You can explore Vietnam by plane, train or bus. Renting a car is not a recommended option here with a left-hand drive and the not-so-good roads with sign boards in Vietnamese.

Travelling in Vietnam – Plane

Flights are a very good option as it saves you time and if you plan in advance, you can get some really cheap deals – we got Vietjet Air tickets from Hanoi to Da Nang for $30 (INR 2200)! The flight connectivity is superb, and you can easily find a lot of flight options to suit your schedule.

Pro Tip: We always make sure we travel light with 2 small backpacks as cabin luggage and 1 suitcase for check-in. In such cases, we book separate tickets – one at the lowest fare (like the $30 ticket mentioned above which doesn’t include check-in luggage) and the other with the luggage add-on. This helps you save quite a bit if you have flights on multiple legs of your journey.

Travelling in Vietnam – Train

Trains are a good option if time is not a constraint in your itinerary. To give you some context, the train from Hanoi to Ho Chi Minh City takes almost 40 hours vs a 2.5 hr flight journey! That said, it is the best way to see the countryside and have a leisurely trip. You will most certainly take a train if you are planning to visit Sapa in the north. Make sure you book your tickets in advance especially if you are travelling on weekends. These are a couple of recommended websites for booking train tickets in Vietnam 12Go and Baolau.

Travelling in Vietnam – Bus

Buses can be found connecting all towns and cities. Be warned – the roads are not great and the buses not very comfortable. The journeys are long which means it will definitely add on to your days in the itinerary (Check out our itinerary here) – both in terms of travel time as well as recovery time. You can find bus tickets on the websites mentioned above for the trains.

Travelling within the city

The cities we went to were the 3 most tourist friendly cities and have a good public transport system which you can rely on.

In Hanoi, for airport transfers, we used the city-airport bus line – look for bus number 7 or 17 and you can get from the airport to the city centre for less than 1 USD per person. You can find out the routes and timings here. Once you reach the Old Quarter, most tourist spots are accessible by foot.

Ho Chi Minh City also has buses, but we didn’t use them as the routes were longer and prone to traffic jams. We went for “Grab” taxis – convenient and easy on the pocket.

Grab taxis are available in all the major cities – make sure you have the app downloaded. It comes in really handy – don’t worry if you don’t know Vietnamese – the app has a chat translate feature where you can type in English and the driver gets it in Vietnamese (mind=blown!). They also have food delivery on the same app – so if you are feeling too tired to step out, they can “Grab” you a quick meal!

Where to Stay

Hanoi: As close as possible to Hoan Kiem Lake. This is where you will be spending most of your time – whether it is exploring the town or hopping into eateries. We stayed near Ta Hien street which was close enough to the bus stop where you get buses to the airport.

Hoi An: Close to the Old Town as this is the centre of activity. We stayed in an Airbnb on the island which has the night market. It was an amazing homestay with super nice hosts who helped us out with our transfers from Da Nang.

Ho Chi Minh City: District 1 – this is where all the day-tours start. You can also find a lot of good restaurants in this district.

Airbnb’s are very popular in Vietnam and with the right set of filters and locations, you can find some really good places. We booked all our accommodation through Airbnb.

Check out our other blogs on Vietnam here. If you have any questions, feel free to shoot them in the comments below. To catch all our latest travel stories, follow us on Instagram @fridgemagnet.tales

A bird’s view – at Night!

After 6 long months of B-School I was on my way back home. I was hoping I’d get more frequent breaks when I first saw the trimester system (which would mean 3 breaks in a year as compared to 2 in engineering). I also hoped to go home more often as my college was in Kerala. Hehe! What wrong notions! 😛 Continue reading A bird’s view – at Night!